Install WordPress on Webuzo is a straightforward process. Webuzo is a control panel similar to cPanel but is often used for managing web applications and hosting services, including WordPress. Here’s how you can install WordPress on Webuzo:
Step-by-Step Guide to Install WordPress on Webuzo:
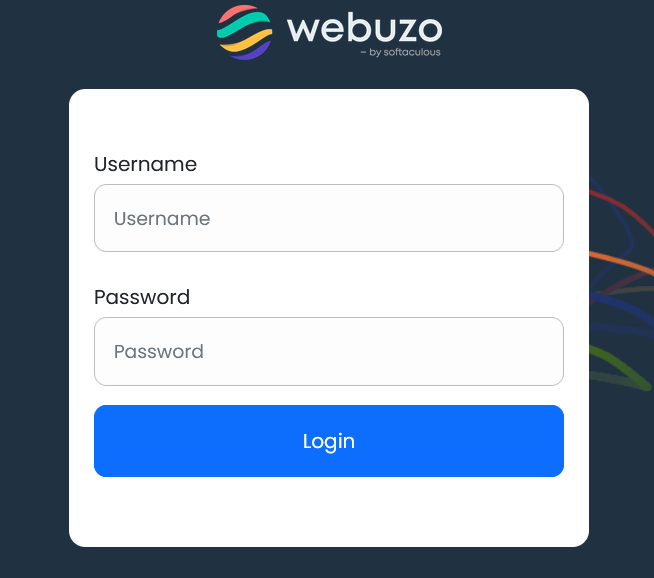
1. Log in to Webuzo Panel
- Access your Webuzo control panel by visiting:
yourdomain.com:2002(or the IP address of your server). - Enter your login credentials to access the dashboard.
2. Install required System Apps
- Install the necessary system apps like Apache, MySQL, and PHP if they are not already installed.

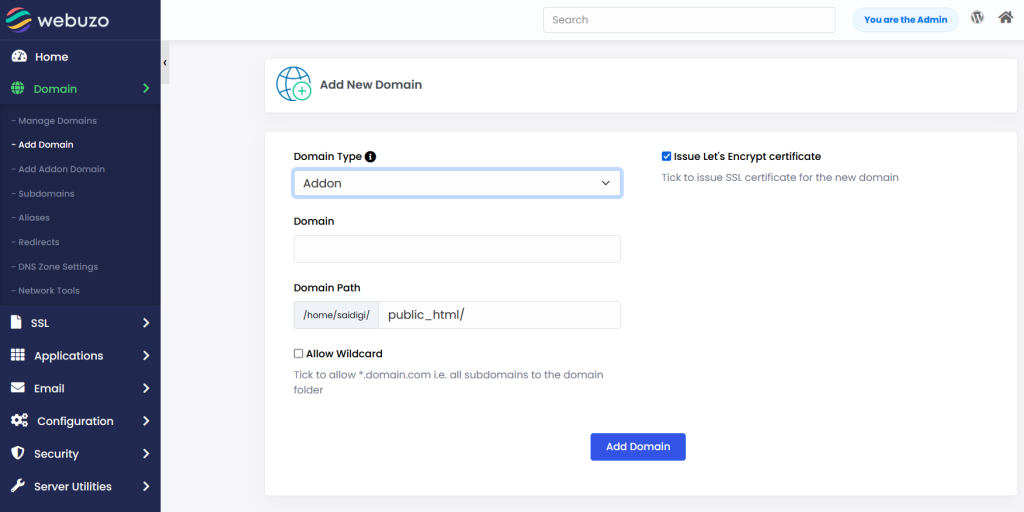
3. Set Up Domain:
- Go to
Domain Management→Add Domainto add the domain where you want to install WordPress.
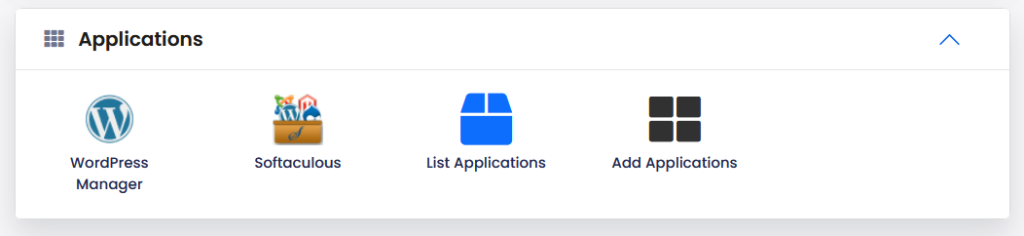
4. Install WordPress
- Click on
WordPressfrom the list of available apps. - Click on the
Installbutton to Install WordPress on Webuzo - Click on the WordPress icon, and it will take you to the installation page.
- Select Install to start configuring the installation.
5. Configure WordPress Installation Settings
- Choose Domain: Select the domain or subdomain where you want to install WordPress.
- In Directory: Leave this field empty if you want WordPress installed in the root (e.g.,
yourdomain.com). If you want it in a subfolder (e.g.,yourdomain.com/blog), specify the folder name. - Site Name: Enter a title for your WordPress site.
- Site Description: Provide a brief description of the site.
- Admin Username: Set the username for the WordPress admin account.
- Admin Password: Set a strong password for security.
- Admin Email: Enter the email address for the admin account.
- Select Language: Choose the language for your WordPress installation.
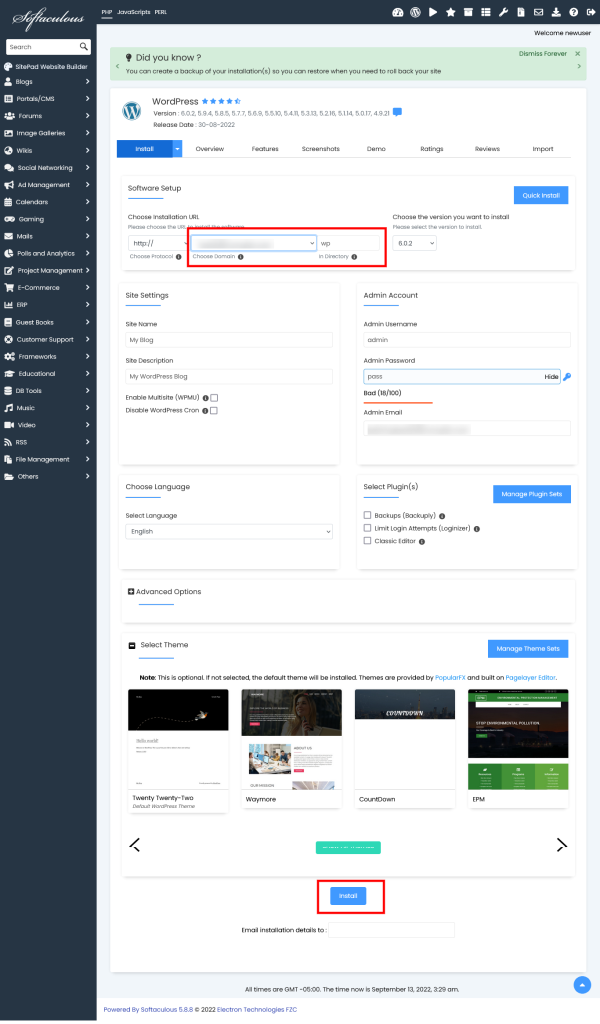
6. Database Settings
- Webuzo automatically generates a database name and user, but you can modify these settings if needed.
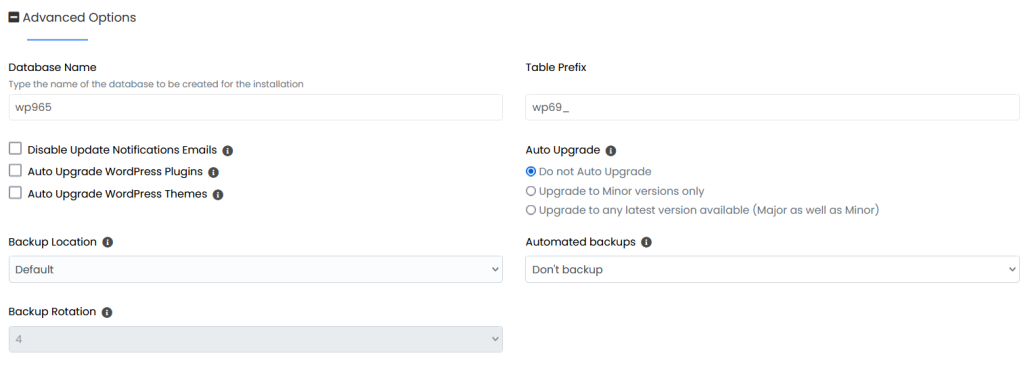
7. Advanced Options
- If you want to set additional options such as automatic updates, backups, or email notifications, you can configure these under the Advanced Options section.
8. Complete the Installation
- Review your settings and click on Install to Install WordPress on Webuzo
- The installation process will take a few moments. Once complete, you’ll see a confirmation screen with the URL of your new WordPress site and admin panel login details.
9. Access Your WordPress Site
- Visit your newly Install WordPress on Webuzo by going to the domain you selected.
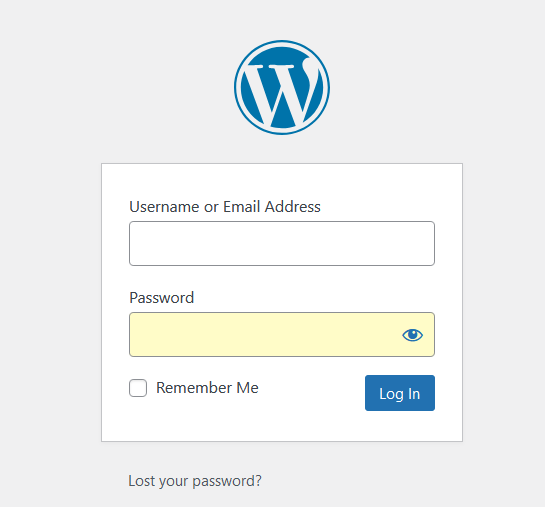
- Log in to the WordPress admin dashboard by navigating to
yourdomain.com/wp-adminand using the credentials you set earlier.
Tips:
- Ensure your domain’s DNS is properly configured before installation.
- Always use a strong password for security purposes.
- Regularly update WordPress and its plugins for better performance and security.